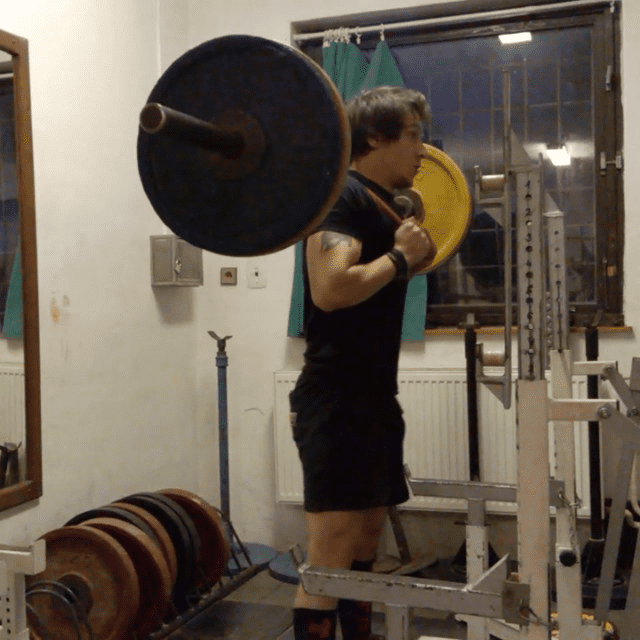
The safety squat bar is a great specialty bar with tons of great benefits for your lower body training. The combination of versatility, injury prevention, and strength gains make it a great tool in any home gym. However, if you do not want to take the full plunge and buy yet another barbell, that is perfectly understandable. It is for that reason that we made this quick guide on DIY safety squat bar options.
Table of contents
Option 1: Lifting Straps As Handles
This option is nice because all you really need are straps that you likely already have and a regular bar. Or, since most gyms do not have this specialty barbell, you can also do this at your local commercial gym as well. This option will be best for people who are mainly looking for a safety squat bar due to problems with wrists or shoulder mobility.
Like with a regular safety bar, you can hold your arms in front of you and not have to have your wrists bent back and shoulders rotated.
The limitation here, of course, is that there is no padding added on. meaning that if you struggle with the sensation of a bar on your back, this may not be the best choice for you.
Option 2: Shelf Liner and Padding
Unlike the last tutorial, this one tries to make you feel like there is extra padding. What is also nice about this choice is that it is not that hard to remove the added materials and go back to a standard barbell.
So, if you only have one barbell, you could theoretically switch back and forth from this DIY setup without wasting much time.
Option 3: Full Conversion
Out of all the options laid out in this tutorial, this is likely the one that will give you the closest feeling to a real safety squat bar. It is basically a full-on conversion that requires you to disassemble the barbell.
The upside of this is obvious, once you do it once you never have to do it again and you have a permanent safety squat bar in your home gym.
I would recommend buying a cheap, used barbell to do this conversion with so you do not spend too much money on this DIY project.
Lack Of Camber
The biggest difference you will notice between these DIY bars and real safety squat bars is the lack of camber. The camber is the angle and manner at which the ends of a traditional safety squat bar drop off.
Since none of these DIY options have a camber, you will not experience the “pulled forward” effect of the SSB as much.
Bottom Line
Even if you do not have a safety squat bar, you can emulate the feeling of one at home for pretty cheap with these DIY options. Go ahead and give them a try. Maybe you will love it and finally get a real SSB of your own. Or you will enjoy so much and see no need to upgrade.
FAQs
Is it better to squat with a safety bar?
Daniel Mesa, CPT, is a trusted fitness expert and founder of FitDominium. With his extensive experience and commitment to helping others, Daniel is the go-to source for reliable fitness advice and recommendations.

